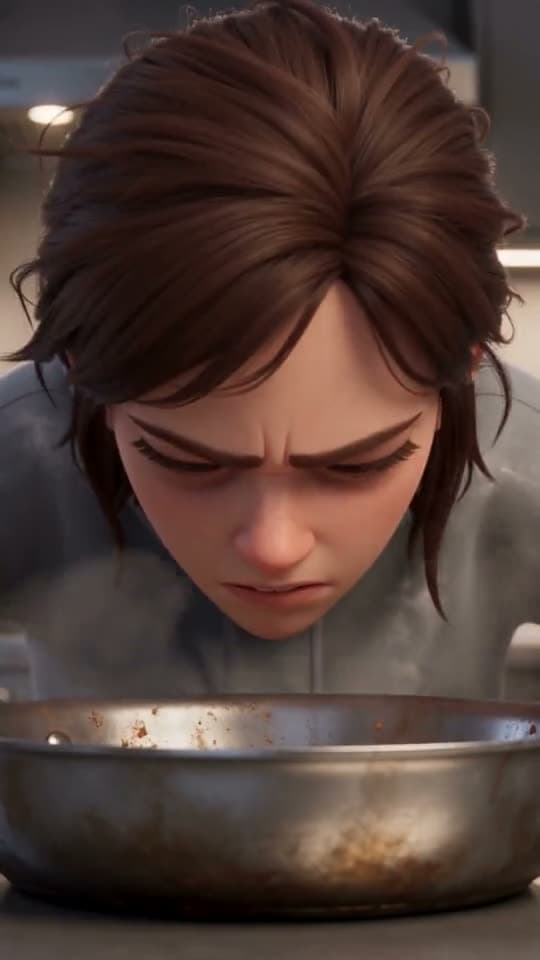
learnCharacters
Turn a photo into an animated character you can reuse in every scene
Make one photo into a 3D animated or anime character sheet, then reuse it in every AI video scene: the photo rules, the steps, the reference caps and the credits.
by reeldouble · November 1, 2026 · 6 min read
A filter makes one clip. You need a character.
Search "turn a photo into an animated character" and almost every result does the same thing: upload a selfie, pick a style, get one animated clip back. That is fun once. It is no use if you want the cartoon version of yourself, your kid or your brand mascot to show up in episode two looking like episode one.
The difference is what you keep at the end. A filter gives you a clip. What a series needs is a character: one locked design that every later scene is drawn from, in any place, from any angle, doing anything. This page is how we turn a single photo into that, step by step, and what it costs on our meter. The whole setup fits inside the 300 free credits a new account starts with.
Step 1: pick the right photo
The engine can only keep what it can see. We get the most reliable characters from a photo that is:
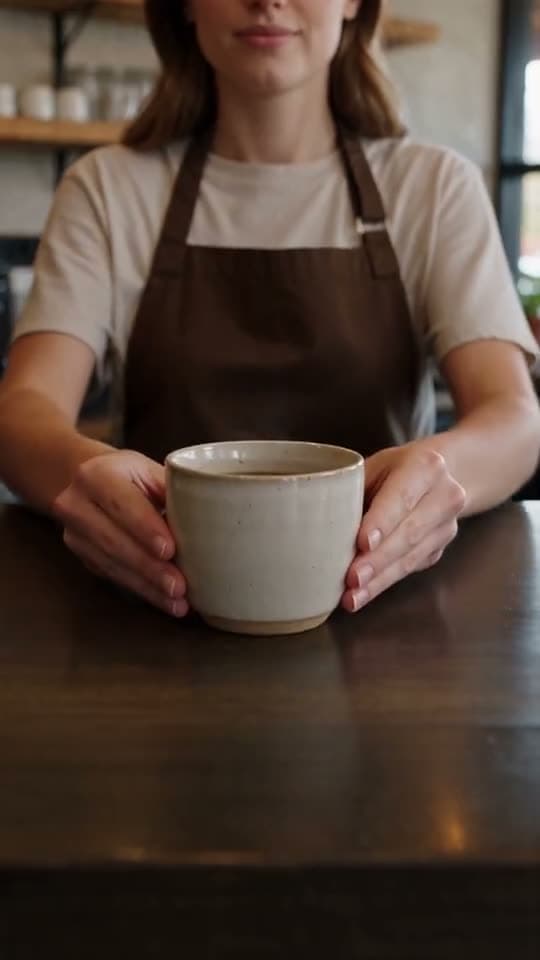
- Front-facing, eyes to the lens, head straight.
- Evenly lit. Daylight from a window beats a harsh overhead light or a strong colour cast.
- Neutral or a small smile. A big laugh gets baked into the design and fights every serious scene.
- Unobstructed. No sunglasses, no hand on the face, hair off the eyes if the eyes matter.
- Sharp, and mostly face. Head and shoulders, not a full-length shot where the face is a few pixels.
Use your own face, or the face of someone who has said yes. Engines may refuse a recognisable public figure, and a character built on someone else's likeness is a problem whether the engine catches it or not. For a mascot or a pet, the same rules apply to the animal or the object: one clear, front-on, well-lit picture.
Step 2: name a style, not "cartoon"
"Make me a cartoon" gives you a different cartoon every time. Naming a specific look gives a consistent one. These are the looks our own sample reels use:
| style word | what it gives you | where it fits |
|---|---|---|
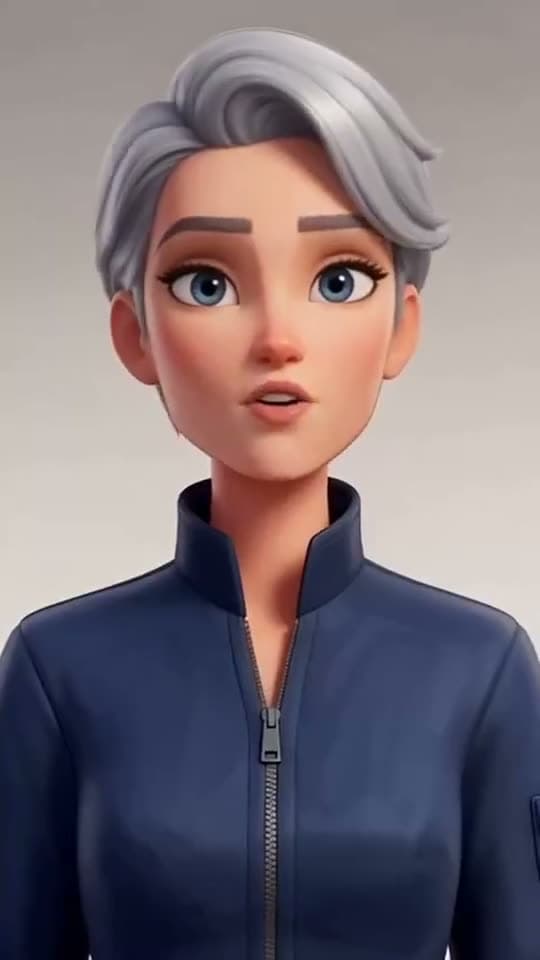
| 3D animated | rounded features, soft light, family-film look | story channels, kids' content, mascots |
| anime | clean line art, big expressive eyes | drama, action, fan-style series |
| claymation | handmade clay texture, slightly stiff motion | cosy stories, food, comedy (this page's cover) |
| watercolor | soft painted edges | gentle narration, poetry, picture-book stories |
| comic ink | bold outlines, flat colour | punchy explainers, superhero parody |
| pixel | low-resolution game sprite | gaming channels, retro bits |
Pick one and keep it. Mixing "3D animated" in one prompt and "cartoon" in the next is the fastest way to make a character change.
Step 3: make a character sheet from the photo
This is the step the filter tools skip. Instead of animating the photo directly, we turn it into a character sheet: the same character drawn from several angles on a plain background, in the style you chose. The sheet is what every scene will be drawn from, so it is worth a second try if the first one is off.
A character sheet costs 30 credits on ReelDouble. We often make two and keep the better one. Check the sheet for:
- Likeness. Does it read as the person at a glance? If not, try a sharper photo, not a longer prompt.
- One outfit. Pick the clothes now. If the sheet shows a red jacket, every scene prompt should say red jacket.
- Plain background. Busy backgrounds leak into scenes.
Our character reference sheet guide has the layout in detail, and the Nano Banana sheet workflow shows the image model behind it.
Step 4: write the descriptor block once
Next to the sheet, write a short fixed description: species or age, hair, eyes, build, the outfit, one distinctive detail. Something like "a 3D animated woman in her thirties, short curly black hair, round glasses, mustard cardigan over a white shirt, small gold hoop earrings." Paste that exact text into every scene prompt. The sheet carries the face; the words stop the engine from inventing a new jacket. Our descriptor block template has the full format.
Step 5: render the first scene with the sheet attached
Now the photo has become a character, and the character goes into a scene as a reference. Each engine takes a different number of characters in one render:
| engine | characters per render | tagged in the prompt as |
|---|---|---|
| Seedance 2.5 | up to 30 images | @Image1 |
| Seedance 2.0 / 2.0 Fast | up to 9 images | @Image1 |
| Kling O3 Pro | up to 5 elements | @Element1 |
| Veo 3.1 Fast | up to 3 images, clip is 8 s | image 1 |
For a first test we use a 4-second Kling O3 Pro clip: it holds a character well across shots and it is the cheapest voiced second we sell, at 30 credits a second at 720p. Keep the first prompt simple: one action, one place, a slow camera. "@Element1 waves at the camera from a sunny kitchen, medium shot, slow push in." If the face holds there, it will hold in harder scenes.
Step 6: give the character a voice
If your character talks, decide the voice now and keep it. You have two options:
- A bank voice, picked from our list. Free.
- Your own voice, cloned onto the character. 50 credits, once per character, then reused on every render. Use only your own voice or one you have permission for.
Our voice clone guide covers recording a clean sample.
What the whole setup costs
| step | credits |
|---|---|
| character sheet | 30 |
| a second sheet, to pick the better one | 30 |
| voice clone (skip with a free bank voice) | 50 |
| first test: 4 s Kling O3 Pro, voiced, 720p | 120 |
| total | 230 |
That is inside the 300 credits a free account starts with, with 70 left for a second short silent test (a 4-second Kling O3 Pro silent clip is 96). After setup, every new scene costs only its render: the sheet and the voice are made once and reused for as long as you keep the character.
Why scenes drift, and the fixes
Even with a sheet attached, a character can wander. The usual causes, in the order we check them:
- The prompt describes different clothes from the sheet. Paste the descriptor block word for word.
- The style word changed. "3D animated" in one scene, "cartoon" in another.
- Too much in one shot. Two actions, a camera move and three characters in four seconds. Split it.
- Fast motion close to camera. Small facial details are where every engine drifts first. Pull the camera back for action.
Our character drift fixes go deeper. When you have a photo ready, make the sheet in the studio and run the 4-second test before you write the whole episode.
FAQ
How do I turn my photo into a cartoon character for videos?
Upload a clear, front-facing photo, name one specific style such as 3D animated or anime, and make a character sheet from it. On ReelDouble you then attach that sheet as a reference in every scene so the character looks the same each time.
How do I keep my animated character the same in every AI video?
Use one character sheet and one fixed description in every prompt, and keep the same style word. ReelDouble attaches the sheet as a reference, so each new scene is drawn from the same design instead of a new guess.
How much does it cost to make an AI character from a photo?
On ReelDouble a character sheet is 30 credits, a voice clone is 50 credits once per character, and a 4-second voiced Kling O3 Pro test is 120. That totals 200, inside the 300 free credits a new account gets.
What kind of photo works best for an AI animated character?
A sharp, front-facing head-and-shoulders photo in even daylight, with a neutral expression and nothing covering the face. Avoid sunglasses, strong colour casts and full-length shots where the face is small.
Can I use someone else's photo to make an AI character?
Only with their permission. Use your own face or the face of someone who has agreed, and expect AI video engines to refuse recognisable public figures.